 Download
 Order
OrderHow to Colorize Old Photos Without Photoshop
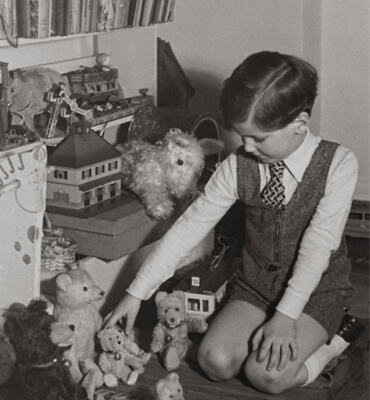
The history of your family is mostly told in grayscale pictures? There is a way to make those photographs more emotional, more expressive, more real - by colorizing them. And now you don’t have to fiddle with complex Photoshop tools to look into the past to see all the shades and hues. With PhotoGlory, smart photo restoration software, you can easily turn your old photos into vibrant shots. Want to dive into this immensely engaging and rewarding process? Then let’s learn how to colorize old photos with PhotoGlory!
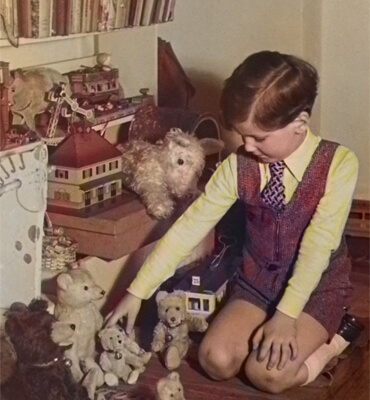
Looks stunning, doesn’t it? Want to try it with your pics? No need to turn to a restoration specialist and spend a fortune to have your pictures colorized. You can do it yourself! With PhotoGlory, colorizing old photos only takes a few simple steps. Ready to paint the past with bright lively colors? Here we go!
Step 1. Digitize Your Old Picture
First, you need to make your paper photo digital. You have two options. First, you can have your picture scanned. Alternatively, you can reshoot your pic with a digital camera. Even your phone will do. But the better the quality of the shot, the easier it will be to colorize it.
Step 2. Open the Digitized Photo with PhotoGlory
Now you’ll need software with a colorization feature such as PhotoGlory. Download this old photo editor for free by clicking the button below.
 Download Now!
Install PhotoGlory to your PC and run it. Now, simply drag your grayscale picture from your folder on your hard drive into the software’s main window.
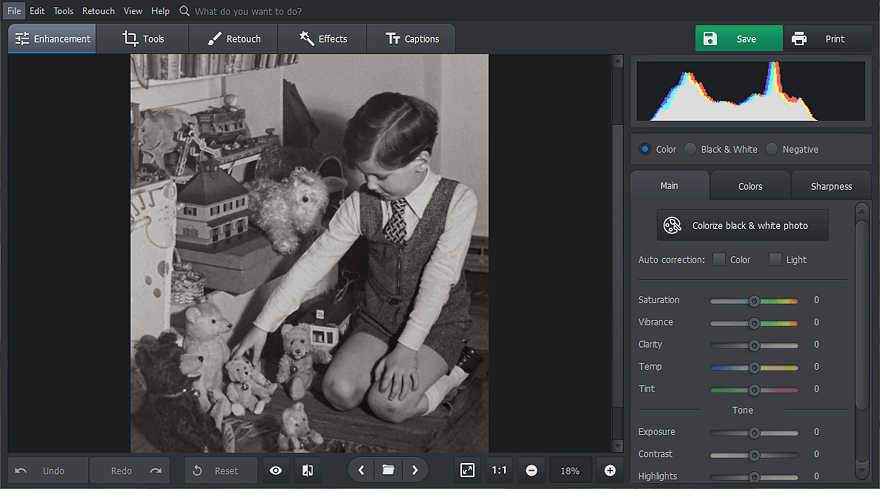
Step 3. Colorize the Old Photo in a Click
Find the "Colorize black & white photo" button on the right-hand side panel and click it. It will take PhotoGlory some time to analyse the picture. Thanks to AI technologies, the software detects different objects in the picture - the sky, the greenery, buildings, people, their clothes - and comes up with matching colors for them.
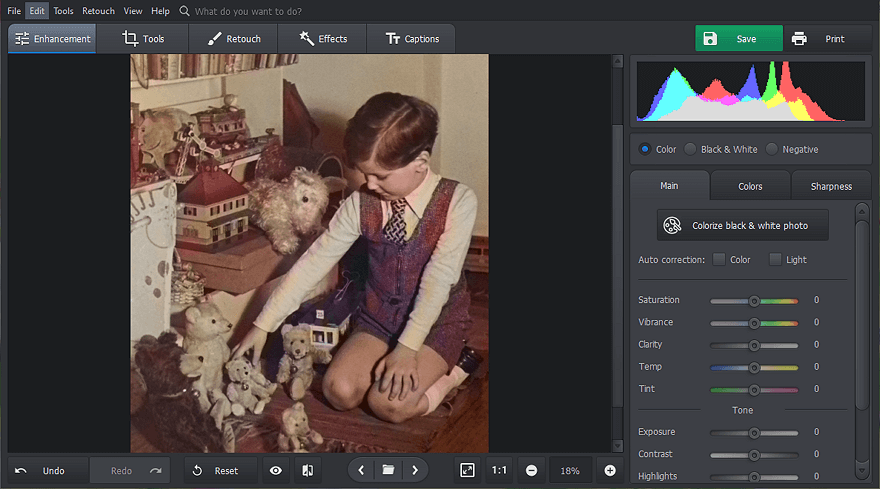
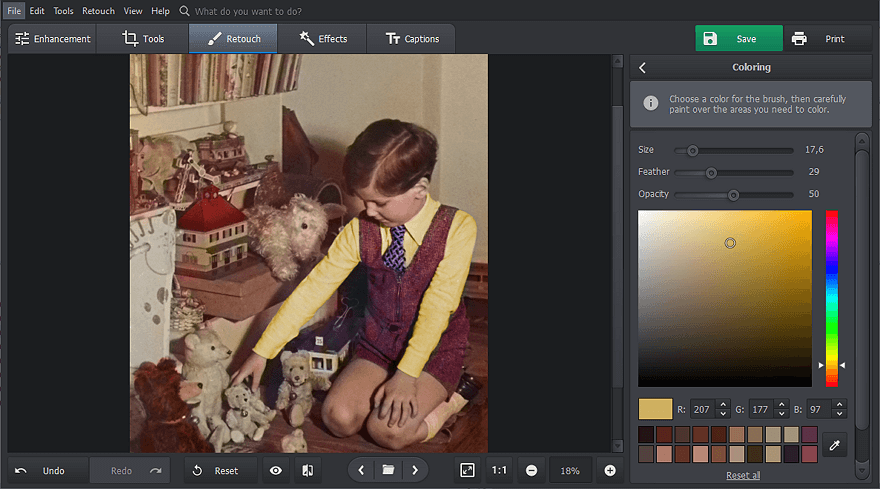
Step 4. Set Color Accents Manually
If certain details in your photo need some fine tuning, you can touch them up manually. For that, go to the Retouch tab and choose the Coloring tool. Now, set the brush size, choose the hue, then paint over the parts of the picture you want to change or improve. To match the existing colors, pick the necessary shade right from the picture using the eyedropper tool.
 The more you learn...
Now you don’t have to guess what shade of blue the sea was in your grandparents’ vacation shot or what color your aunt’s dress was in her beauty pageant picture. Now that you know how to colorize old photos, you can easily travel back in time and enjoy all the bright and exciting colors!
And that’s not all you can do with PhotoGlory. With this software, you can swiftly restore all your damaged and faded photos. Your picture is cracked and ripped in many places? Fix it with easy-to-use healing tools. That precious old shot looks faded and washed out? It only takes a click to bring back all the depth and drama. So give your family archive a new life by taking it with you into the digital age!